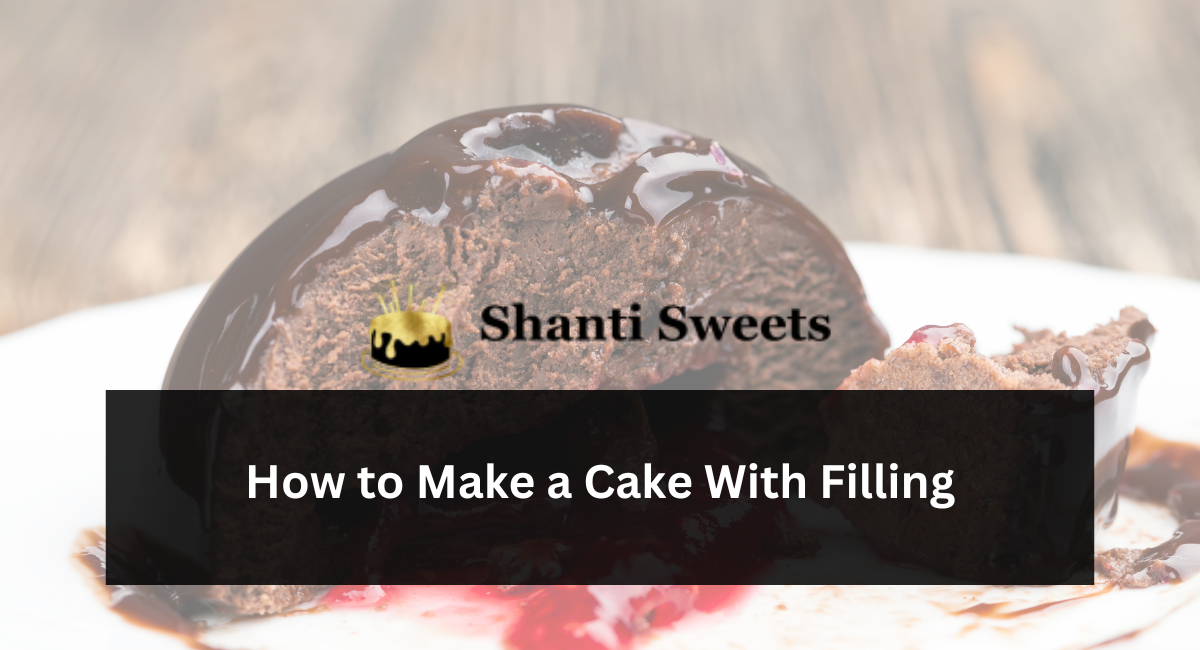
There’s something undeniably special about a cake with a filling. It’s like a hidden treasure waiting to be discovered, a burst of flavor that elevates the entire experience.
Forget bland, one-dimensional cakes – today, we’re diving into the exciting world of filling-infused masterpieces!
But before we whip up a storm, let’s acknowledge the elephant in the kitchen: fear. Fear of messy layers, uneven spreading, and potential filling disasters. Relax, bakers!
With a few simple tips and the right recipe, creating a filled cake is easier than you think.
The Secret Language of Fillings: Choosing Your Perfect Match
The world of fillings is vast and delicious, from classic buttercream to playful fruit compotes. When choosing your filling, consider these factors:
- Cake Flavor: Chocolate cake and raspberry jam are a match made in heaven, but a delicate lemon cake demands a lighter touch, like lemon curd or whipped cream.
- Texture: Do you want a smooth, creamy filling like pudding or a chunky, fruit-filled delight? Consider the bite you’re going for.
- Sweetness Level: Balance is key! If your cake is already quite sweet, opt for a less sugary filling and vice versa.
From Dream to Pastry: Filling Techniques Made Easy
1. Bake Wisely: Ensure your cake layers are even and level. Uneven layers make filling a nightmare, so take your time baking!
Now, let’s talk technique! Mastering these basic steps will set you up for filling success:
2. Cool Completely: Don’t rush! A warm cake can melt your filling, creating a gooey mess. Let your cake layers cool completely before assembly.
3. Dam It Up: For wetter fillings like jam or pudding, pipe a ring of frosting around the edge of your cake layer to prevent oozing. Think of it as a delicious retaining wall!
4. Spread with Confidence: Use an offset spatula for even spreading. Don’t go overboard; a thin layer is all you need to avoid a filling bomb.
5. Layer Up: Gently place the next layer on top, pressing lightly to ensure even distribution. Repeat with filling and layering until your cake is complete.
Beyond the Basics: Filling Fun and Variations
Once you’ve mastered the basics, let your creativity soar! Here are some ideas to take your fillings to the next level:
- Fresh Fruit Fiesta: Fold fresh berries, sliced peaches, or chopped mango into your buttercream for a burst of juicy goodness.
- Nutty Delights: Add chopped nuts like walnuts, pecans, or hazelnuts to your filling for a textural surprise.
- Spice It Up: A pinch of cinnamon, nutmeg, or even cardamom can add warmth and depth to your filling.
- Swirl It Up: Create beautiful designs by swirling different colored fillings together before spreading.
A Slice of Confidence: Troubleshooting Tips for Fearless Bakers
Don’t let minor mishaps discourage you! Here are some solutions to common challenges:
- Filling Overflow: Did your dam fail? Don’t panic! Use a spoon to gently nudge the filling back into place. You can also use a serrated knife to carefully trim the edges after assembling.
- Uneven Layers: Don’t worry, perfection is overrated! Use extra filling to camouflage any gaps or unevenness. Remember, rustic charm is in!
- Cracked Cake: If your cake cracks while cooling, don’t fret! Frosting will cover most imperfections, and the filling will hold everything together.
The Sweetest Reward: Sharing Your Culinary Creation
There’s nothing quite like the joy of sharing a homemade cake, especially one brimming with delicious filling. So, bake with love, experiment with confidence, and most importantly, savor the journey and the sweet rewards of your creation.
Let’s celebrate the beauty and deliciousness of cakes that go beyond the ordinary, one delightful layer at a time!

Leave a Reply