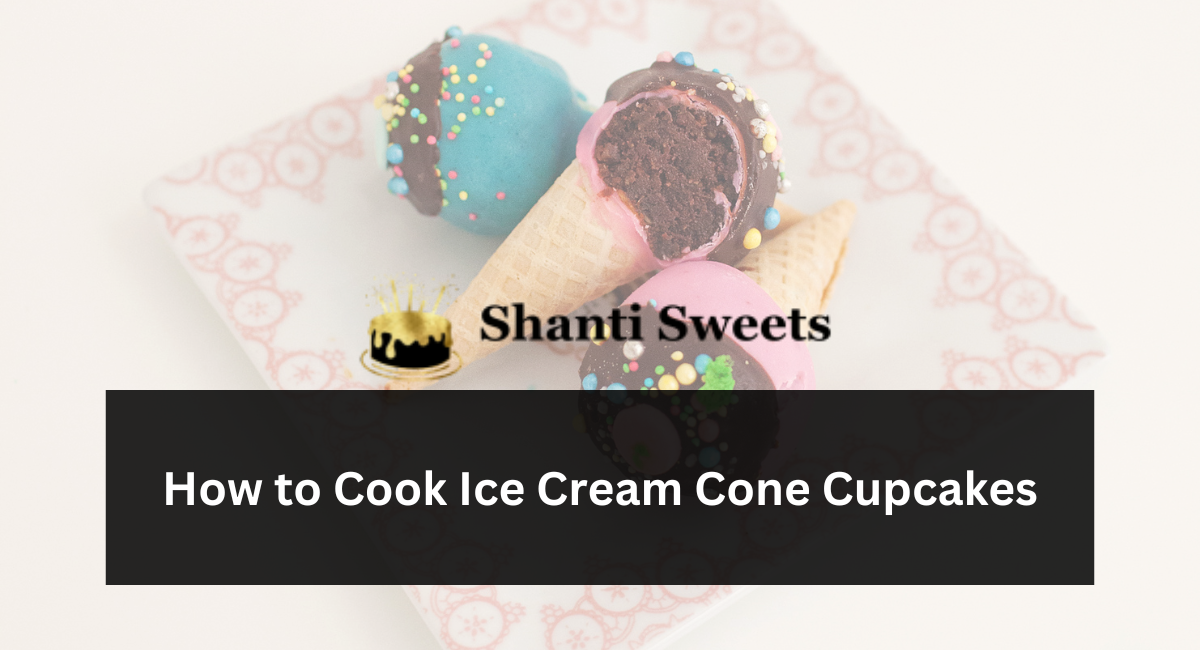
Remember the thrill of childhood ice cream cones, dripping with sticky sweetness and pure joy? Now, imagine capturing that magic in miniature form, baked to fluffy perfection, and adorned with frosting swirls and playful sprinkles.
Yes, you guessed it – we’re talking about ice cream cone cupcakes, and this post is your passport to creating them like a pro!
From Humble Cone to Sweet Canvas:
Before we whip up a batter symphony, let’s meet the stars of this show:
- The Cones: Ditch the flimsy, kiddie-size cones. Seek out sturdy waffle cones that can withstand the baking heat and hold their shape proudly. Vanilla and chocolate are classics, but don’t shy away from adventurous flavors like blueberry or even churro!
- The Batter: This is where your creativity shines! From classic vanilla to decadent chocolate, vibrant red velvet to whimsical funfetti, choose a flavor that speaks to your soul. Remember, it needs to be thick enough to hold its form in the cones, avoiding dryness at all costs.
Building Your Dreamy Cone Cup:
Preheat your oven to 350°F (175°C) – the magical temperature where dreams turn into fluffy reality. Now, let’s get our hands dirty:
- Liner Up: Grab your muffin tin and line it with cupcake liners that are tall enough to accommodate your chosen cone heroes. Remember, presentation matters!
- Conehenge: Arrange your cones upright in the prepared muffin tin. Feeling extra cautious? Add a scoop of cookie dough or melted chocolate at the base for extra structural support.
- Batter Bliss: Now, comes the fun part! Using a spoon or a small piping bag for ultimate precision, gently fill each cone with your chosen batter, leaving about 1/4 inch of space at the top to prevent an overflow disaster.
- Bake to Golden Perfection: Pop your masterpiece-in-progress into the oven and bake for 18-22 minutes. Remember, every oven has its own personality, so keep an eye on them and use a toothpick test (clean = happy cones!).
- Cool Down: Patience is key, young baker! Let your creations cool completely in the pan before attempting to remove them. Hot cones can be delicate, so give them time to chill out.
Frosting Fairytale:
Once your cones are cooled and ready, unleash your inner frosting artist!
- Classic Charm: Opt for smooth cream cheese frosting or fluffy buttercream for timeless elegance.
- Swirl It Up: Feeling adventurous? Pipe different colored frostings for a playful, multicolored swirl.
- Fruitful Fusion: Top your creation with fresh berries, chopped nuts, or colorful sprinkles for a textural and flavor explosion.
Beyond the Basics: Where Creativity Takes Flight:
- Hidden Treasures: Add a scoop of mini chocolate chips or chopped nuts to the batter for a delightful surprise in every bite.
- Ice Cream Dream: Fill the cooled cones with a dollop of softened ice cream before frosting – it’s like a sundae in cupcake form!
- Dip Delight: After frosting, dip the cone tops in melted chocolate or colored candy melts for a decadent and visually stunning finish.
- Presentation Perfection: Arrange your frosted cupcakes on a stand or platter, creating a centerpiece that will wow your guests.
Remember:
- Use fresh ingredients for the best results – your taste buds will thank you!
- Don’t overfill the cones – you don’t want a batter eruption in your oven.
- Let the cupcakes cool completely before frosting – melty frosting is not our friend.
- Most importantly, have fun and experiment! This is your chance to showcase your creativity and bake with a smile.

Leave a Reply